Fibre Installation
The Installation Process
- Once you’ve completed your application, your order is processed and added to the network build plan.
- The fibre network is then rolled out in your area according to the build schedule.
- The installation partner will contact you for an appointment to survey your home and plan the installation.
- Once the installation plan is agreed upon, a separate appointment will be made with you for the installation partner to install the Vodacom Fibre service and required equipment at your home.
The customers that reside in fibre live areas can be installed and connected within seven (7) days.
The seven days start from the date the order is approved for credit vetting. The seven-day lead times exclude the following:
Customer line occupied:
This is due to cancellation from previous Internet Service Provider not being processed.
On Hold:
This is when we cannot proceed with the installation due to different delays, either on customer’s side or FNO’s (Fibre Network Operator) side. Find below reasons for delay:
- Area On Hold: Meaning FNO (Fibre Network Operator) cannot install immediately as Fibre build is put on hold in the area.
- On Hold – Pending Landowner consent: This means that we are waiting for the Landlord/Building Manager to give the go ahead for installation.
Address mismatch on the Fibre Network Operator Portal:
This means that the installation address has not yet been created on the Fibre Network Operator Portal and it will needs to be created before the installation.
Verify Address:
This is when a Proof of Address is required for address verification if the provided address is incomplete, the verification is done by the Fibre Network Operator (FNO).
Maintenance required:
This is when the installed ONT (Optical Network Terminal) requires maintenance before the service can be activated.
Customer Uncontactable:
This is when we are unable to get hold of the customer on the provided communication methods (phone/email) causing delay in installation.
When will the customer hear from the installation partner?
- Within 7 - working days. Should the customer not hear from the installation partner within 7 working days, the customer can track the status of the fibre order by clicking here on Track my Order or call the contact centre at 0821904.
What will the home installation entail
- Optical fibre is taken from the distribution box on the boundary wall into the home (this may include digging and trenching in your home).
- The fibre will be connected and terminated at the Optical Network Terminal (ONT) inside the house.
- Vodacom CPE will be connected to the ONT (applicable when Optical Network Terminal (ONT) is not WIFI enabled by the Fibre Network Operator (FNO))
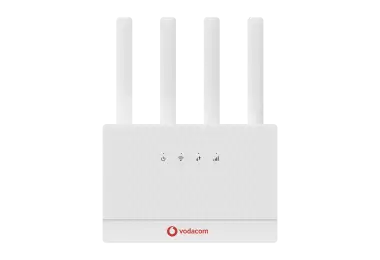
Vodacom S90 PLUS Quick Set Up guide
Installation Instructions
To set up the router:
- Remove the router and all accessories from the packaging.
- Screw in the external antennas provided into the SMA antenna ports of the router, ensure that the antenna is screwed in correctly as not to damage the threading on the ports. threads.
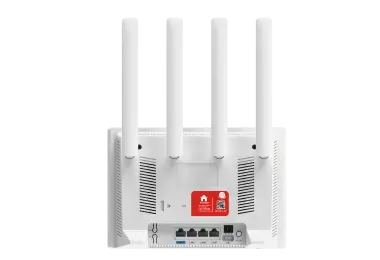
- Remove the back cover and the backup battery and insert the SIM card into the SIM slot according to the direction marked on the router.
- Connect the battery backup to the router, ensure that the PINS and the socket is aligned, as not to damage the PINS. Replace the back cover and connect the external power outlet and the router to an electrical socket.
- Press the power switch and the router will be powered on, wait approximately 1~2 minutes until the router has initialized.
- Place the router at the best location to improve coverage.
If the network LED is not displaying, please follow the procedure below to confirm whether the SIM pin code request has been enabled, you will be required to disable the SIM pin.
Accessing the Internet
The router supports both Ethernet and wireless methods of connecting devices such as laptops, desktops, and mobile devices. It works without additional drivers and supports operating systems that include Windows XP, Windows 7, Windows 8, macOS, Linux, and Android.
Router Status Checklist
Before using the Internet, ensure:
- The power indicator is on.
- A valid SIM card is inserted correctly.The signal indicator is on, preferably green.
How to disable your SIM PIN
- Connect your Phone / PC / Laptop via Wi‑Fi or Ethernet cable to the router
- Open a web browser on your Phone / PC / Laptop and enter the following IP address: 192.168.0.1.
- If a message displays “your connection is not private”, select “advanced” and then select “Proceed to 192.168.0.1
- Click on the login link
- Enter in the login credentials, this can be found on the label at the back of the router
- Enter in the SIM PIN when requested and select saveThe router will now log on to the Vodacom network

